
Sonoff is a family of Smart WiFi Switches to control almost every electric gadget in our home. All type of Sonoff devices are connected to cloud servers attached to user account and user may control them using eWeLink iOS and Android apps. Internet is the backbone of whole system connecting Sonoff devices and eWeLink iOS and Android apps together. It is not possible to control Sonoff without internet using the official firmware.
Drawbacks of Cloud Control:
- Slow response
- Exposed to internet
- Failure in registering device into app
- Connectivity issues
- Internet connection is must
- Device is inaccessible if cloud server experience any issue
Control Sonoff without internet:
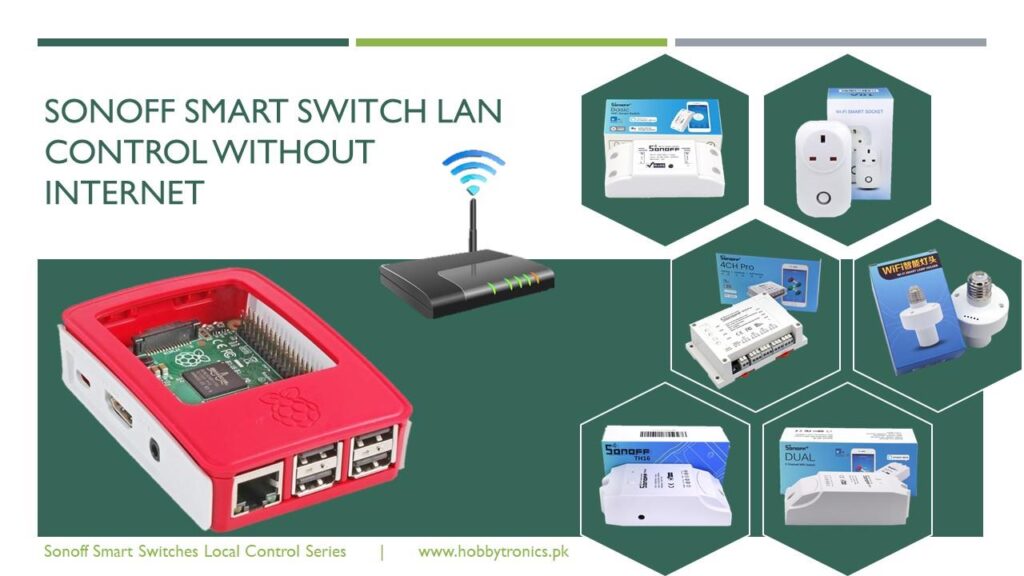
Well here is a little work around to overcome all above concerns. Burn Sonoff Tasmota firmware into your Sonoff Smart Switches and enjoy controlling your device locally without internet connection using Domoticz dashboard, iOS and Android apps.
In this particular scenario, We’ll upload a third party opensource firmware, Sonoff Tasmota into our Sonoff device and setup our local server using Raspberry Pi to control the devices locally without internet. Sonoff Smart Switches will be connected to our server using MQTT with the help of our local WiFi network. Domoticz will act as dashboard in this particular system and help us controlling our devices. There is no coding required for working with Domoticz and Sonoff Tasmota.
Note: eWeLink will no longer work for controlling your Sonoff device. However, as we’ll back the original firmware up before installing third party firmware, you can restore original firmware if required.
Contents:
- Hardware Requirements
- Software Requirements
- Step-by-Step Procedure
- – – – Step A – Preparing Raspberry PI
- – – – Step B – Install MQTT Broker
- – – – Step C – Install Python & Esptool
- – – – Step D – Install Sonoff Tasmota Firmware in Sonoff Smart Switch
- – – – Step E – Connect & Control the devices
Hardware Requirements:
- Any Sonoff Smart Switch
- Raspberry Pi 3 Model B Kit – RS | Raspberry Pi Zero W Kit
- FTDI USB To TTL 3.3V & 5.5V Serial Adapter + Cable
- Premium Female/Female Jumper Wires
- Personal Computer / Laptop
- WiFi Router
Software Requirements:
Step-by-Step Procedure:
Step A – Preparing Raspberry PI:
Our LAN Server comprises a Raspberry Pi 3 | Raspberry Pi Zero W, a mini computer running a Linux Operating System i.e. Raspbian (Latest version is Raspbian Stretch). In Raspberry Pi, operating system is installed in a Micro SD Card which is used to boot it up. Prepare your Micro SD Card according to Raspbian Stretch Headless Setup on Raspberry Pi Zero, Zero W, Pi 3. Now our mini computer is ready for use.
Step B – Install MQTT Broker:
Our Smart Devices will communicate with our server using MQTT protocol, so next We are required to install Mosquitto MQTT Broker, just follow the steps given under Installing secure Mosquitto broker on Raspberry Pi with Raspbian Jessie or Stretch along with systemd start up.
Step C – Install Python & Esptool:
Download and install Python 2.x or 3.x and Esptool according to Backup & Restore Official Firmware of Sonoff WiFi Smart Switches in your Personal Computer / Laptop. Esptool will be used to either backup official firmware or uploading third party firmware.
Step D – Install Sonoff Tasmota Firmware in Sonoff Smart Switch:
Beware: Disconnect your Sonoff Smart Switch from AC Power line before going further. Never connect the device to AC Power line while connected to PC.
Now real fun begins. Follow the links below specific for each of Sonoff Smart Switch to install Sonoff Tasmota firmware.
- Tasmota: Sonoff Slampher WiFi Bulb Holder Local Control
- Tasmota: Sonoff S20 Smart Socket Local Control
- Tasmota: Sonoff Pow Power Monitoring Switch Local Control
Step E – Connect & Control the devices:
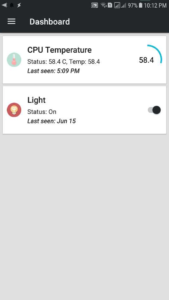
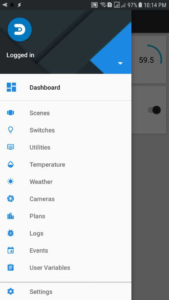
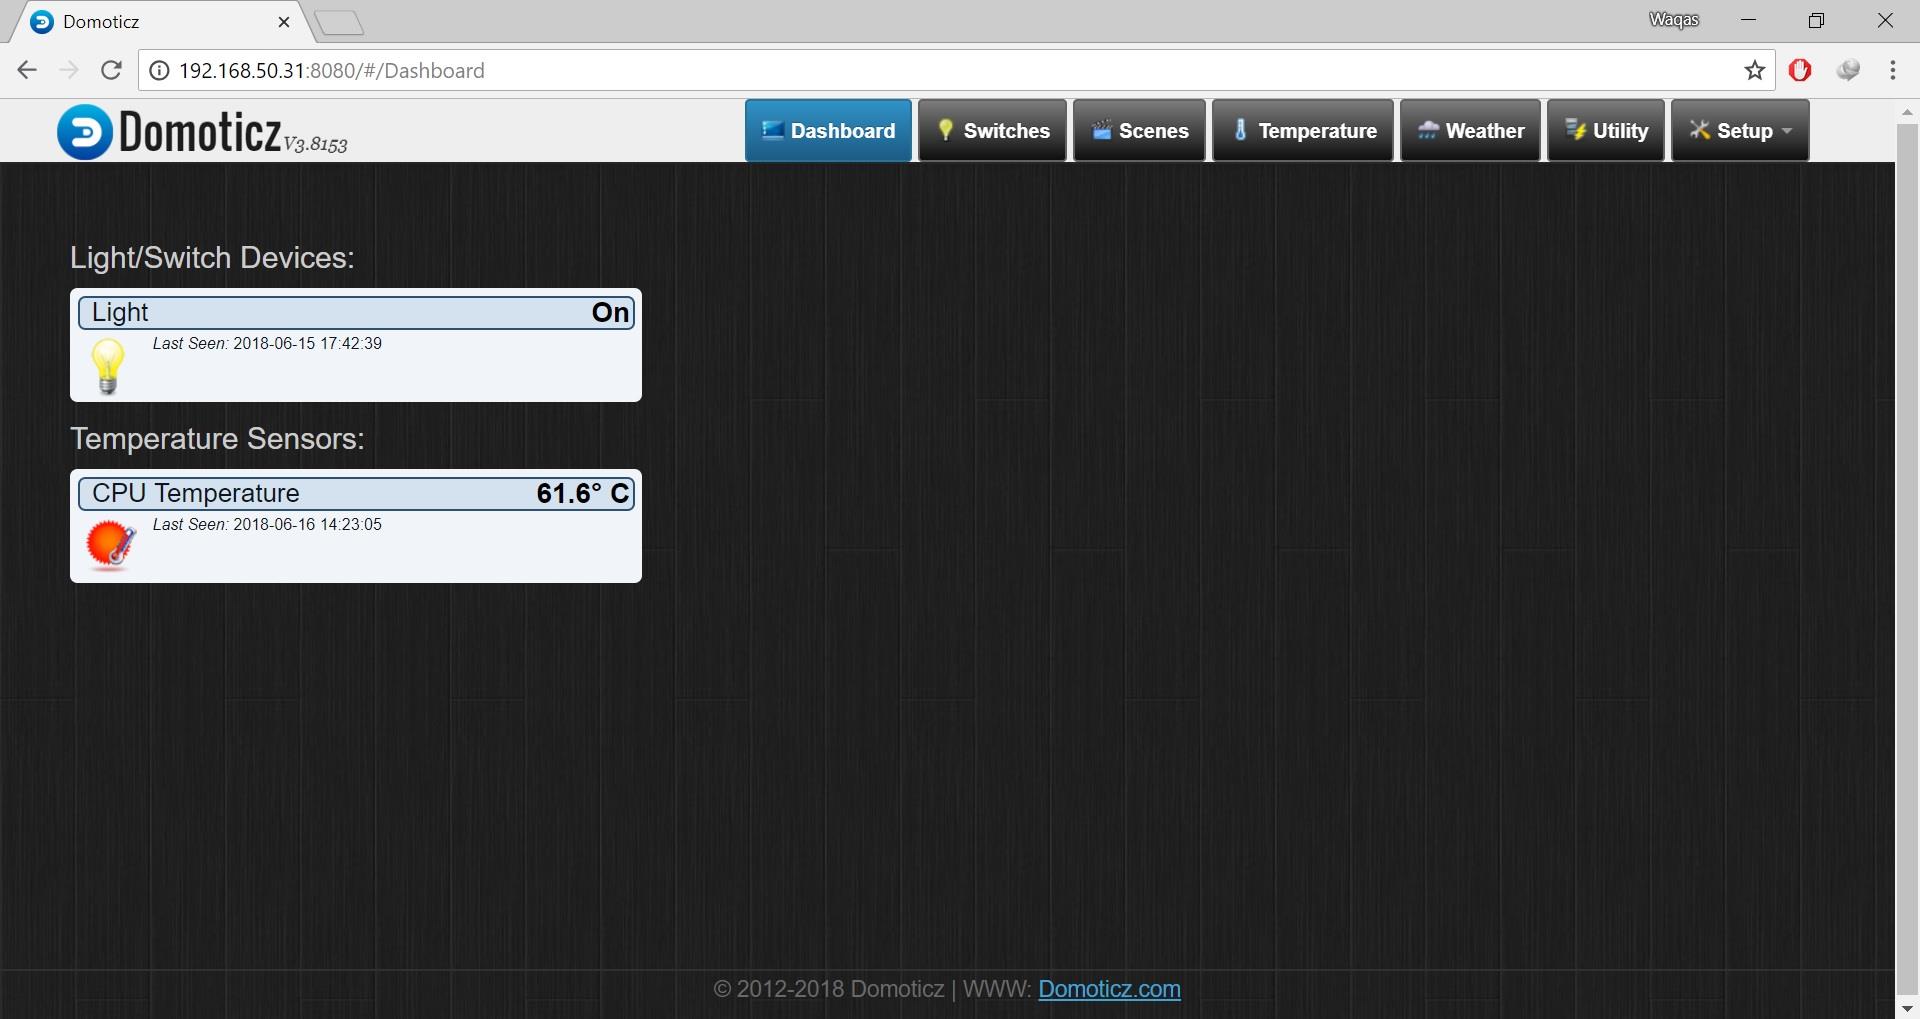
Let’s install Domoticz dashboard and connect our Sonoff devices to it by following our guide Domoticz: Sonoff Local Control Dashboard. At the end, We’ll be able to control our Sonoff devices using web browser and iOS and Android apps.

nice, keep up the good work.
How can I reach the Parameters of POW R2 like Voltage, Ampere, Energy, Energy today, Enery yesterday, Energy sum in Domoticz?
Add dummy sensors for Power / Energy, Voltage and Current in Domoticz. Note down the idx number for each of dummy sensor. Navigate to Configuration > Configure Domoticz in Tasmota and add the idx number in respective fields and hit save.