
Today we are living in a world of interconnected things where all of our gadgets talk to each other. WiFi is still a very common and affordable way to connect the things wirelessly. There are always noticeable dead spots in our house / building no matter how efficient wireless access point we install in our premises. Have you ever faced the random disconnection of your smart switch e.g. Sonoff because of low signals especially while controlling appliances slightly away from your router? Should one consider an installing a new range extender or repeater just for one device? It might not be economical for some cool dudes and why should we bother when we have a very economical low cost alternative, ESP8266 WiFi Repeater Range Extender. Yes we can!! So without any further due, let’s get started.
Contents:
The ESP8266 WiFi Repeater Range Extender:
Let’s have a generous look at the possibilities using ESP8266 or any ESP8266 based development boards e.g. NodeMCU, WeMos etc., before getting started with this new cool project.
- Automesh
- Monitoring
- Firewall
- Static Routes
- Bitrate Limits
- MQTT Support
- ENC28J60 Ethernet Support
- Power Management
We’ll discuss these features in details later on.
Hardware Required:
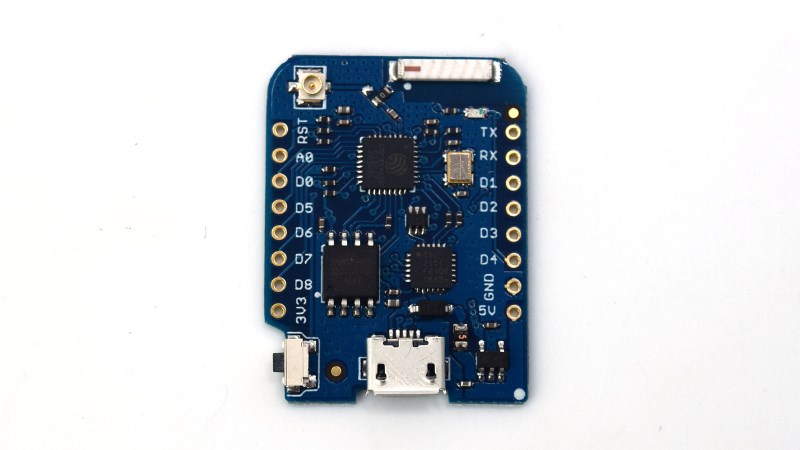
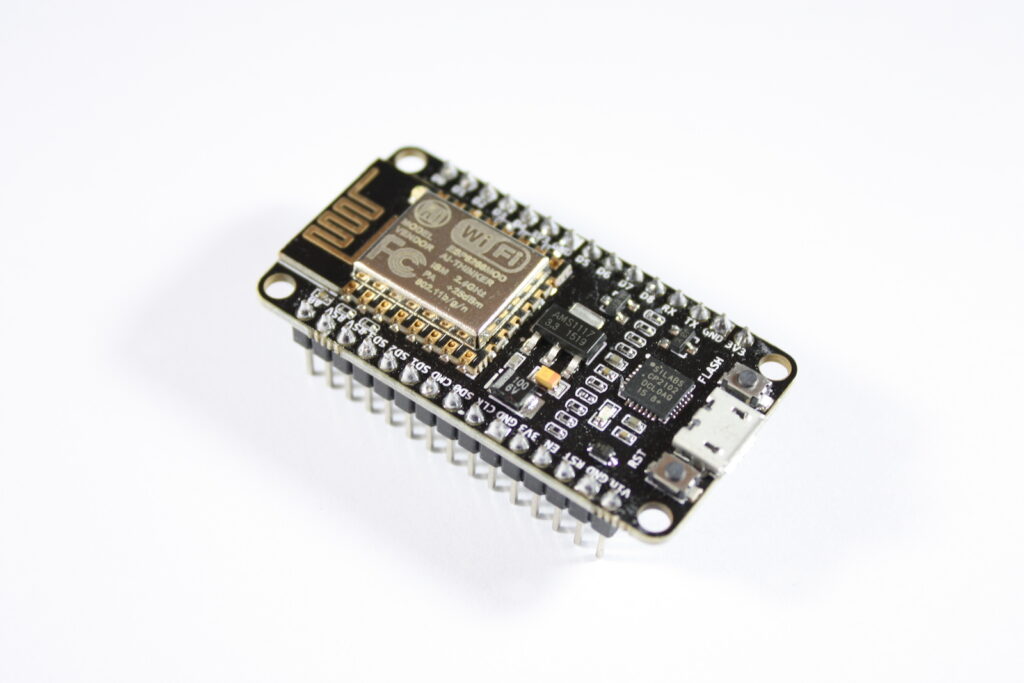
- Nodemcu / WeMos development boards (WeMos D1 Mini Pro with external antenna support, is recommended)
- External Antenna (Optional but recommended)
- USB Power Supply 5V, 1A (At least)
- Enclosure (Optional)
- Laptop / Computer
- USB Cable (For programming only)
Software Required:
- ESP8266 Download Tool (Zip File)
- ESP WiFi Repeater Firmware (0x00000.bin | 0x02000.bin | Compressed Zip File)
Step by Step Procedure:
Step I:
Download the required software from the links given under Software Required section. Unzip the ESP8266 Download Tool and run flash_download_tools_vX.X.X.exe (where X.X.X is the software version). Wait for few moments until Espressif Download Tools window pop up. Click on ESP8266 Download Tool and a new window will pop up as shown below. Connect the development board to PC and follow the steps given below.
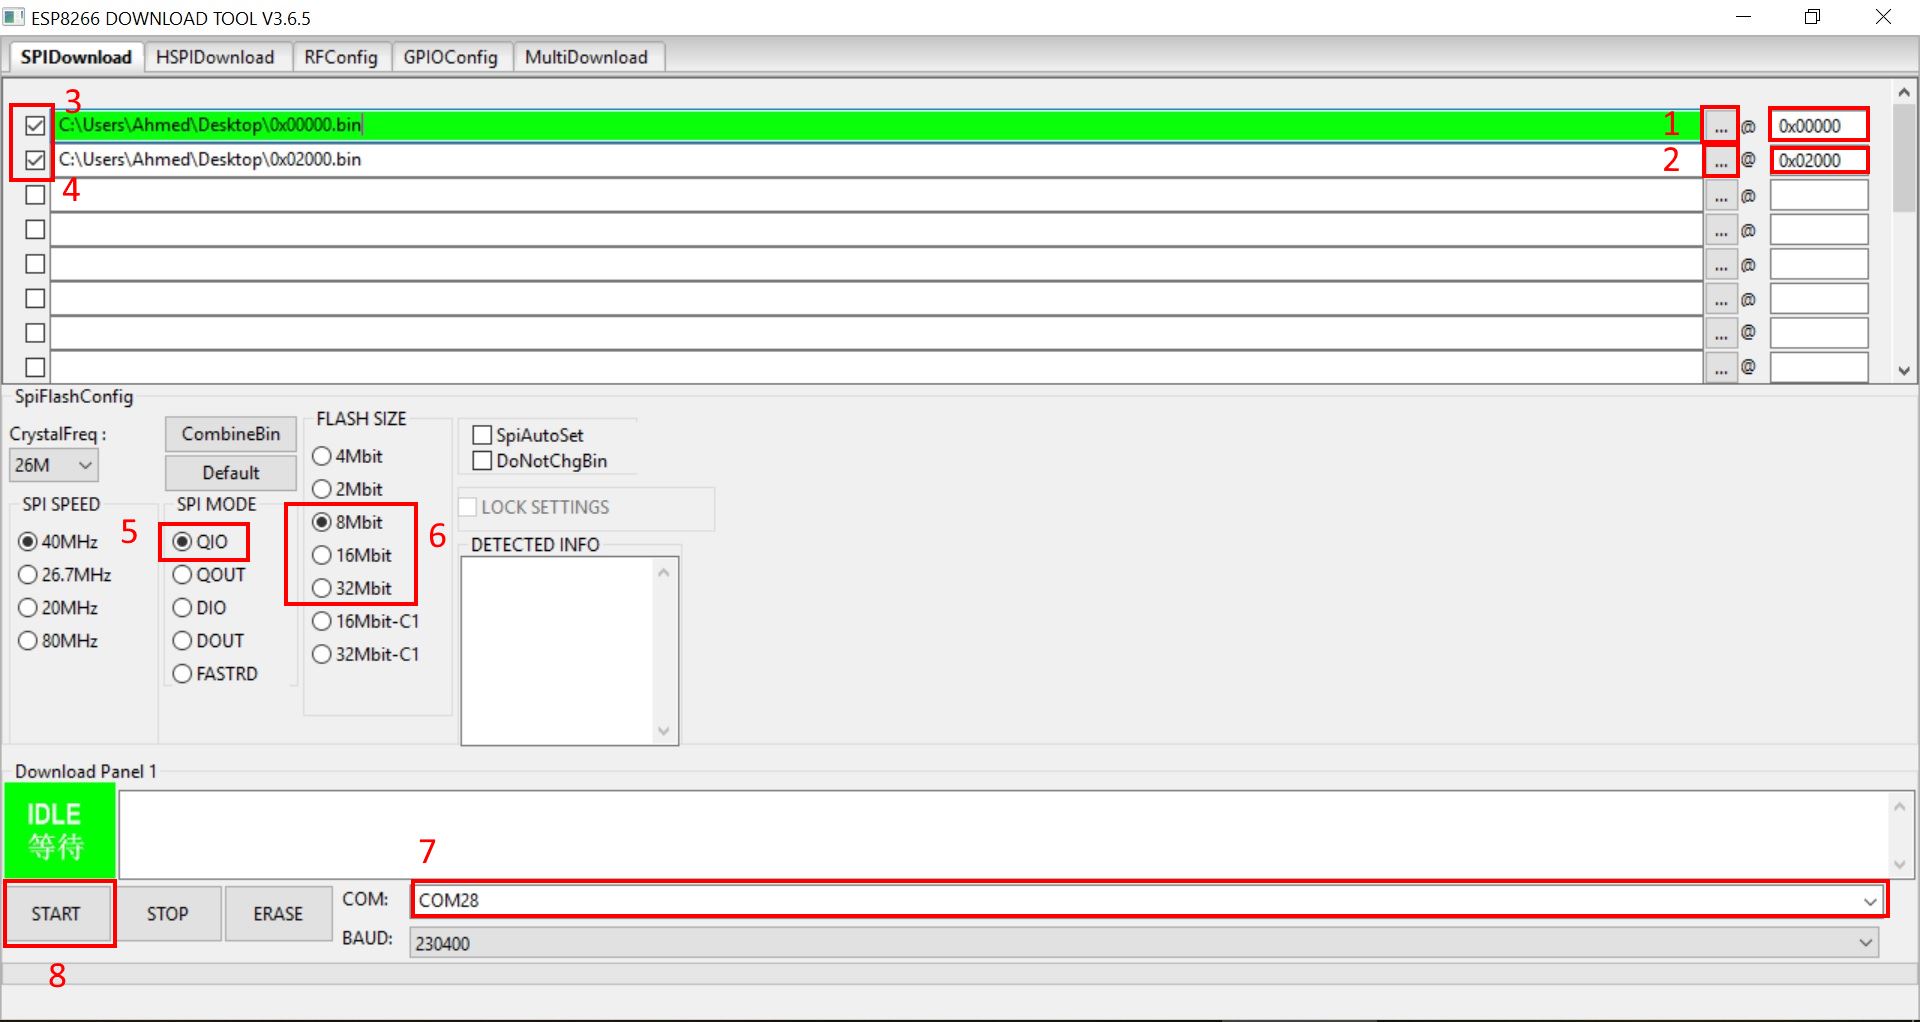
- Choose 0x00000.bin file and type address 0x00000 in the @ field given in front of it.
- Choose 0x02000.bin file and type address 0x02000 in the @ field given in front of it.
- Tick the option to include 0x00000.bin file in firmware upload task.
- Also tick the option to include 0x02000.bin file in firmware upload task.
- Choose SPI MODE to QIO / DIO (if QIO fails).
- Choose the Flash Size according to the development board in use.
- Select the Port at which you have connected your development board along with Baud Rate i.e. 230400.
- Once selected all the options, Start the upload of firmware into development board.
After successful upload, SUCCESSFUL will be shown in place of IDLE status as shown in picture above. Reboot the device (by pressing the restart button) and a new access point MyAP will be shown under WiFI settings.
Step II:
Connect to this new access point MyAP and open the configuration page http://192.168.4.1/ in your favourite browser.

- Under STA Settings, input SSID / Name of your Primary Router (Case Sensitive, Better is use a single word).
- Input the Password of your Primary Router.
- Once provided the correct credentials, hit Connect to save the changes and unit will reboot.
- Now connect once again to MyAP, open the configuration page and change SSID under AP Settings as desired.
- Input a secure password containing alphabets, numbers and special characters.
- Change Security mechanism to WPA2.
- If you want to change the IP address (Should be different e.g.192.168.51.0 from primary router e.g. 192.168.50.0), add it to respective field.
- To take the changed effect, hit Set button and you are ready to go.
Once configured properly as discussed above, you will have a under fully working WiFi Repeater at very low cost.