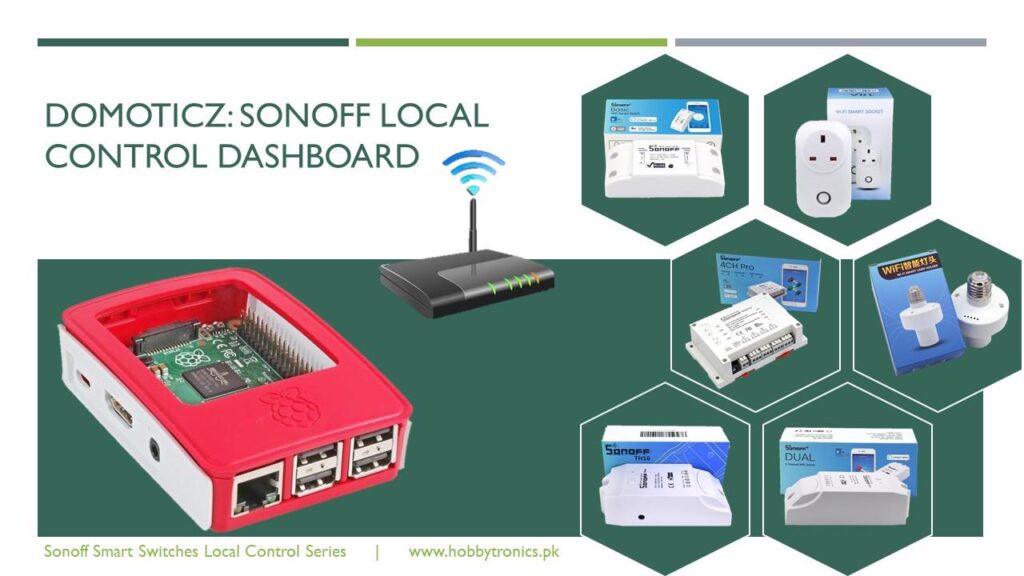
Domoticz is a very light opensource home automation system which can be configured to control our Sonoff Smart Switches. Sonoff Tasmota Firmware have builtin support for Domoticz and We can get the things ready by following very few simple steps. Best thing about Domoticz is that it also have iOS and Android App available for download free of cost. So combine Domoticz Sonoff and Tasmota and achieve local control of all of your appliances with ease.
This article is a part of Step by step guide to control Sonoff Smart Switch without internet in which we’ll install and configure Domoticz in our Raspberry Pi Server. So without any further description, let’s get towards the main steps.
Install Domoticz in to Raspberry Pi:
We’ll not discuss any prerequisites here if you have just landed to this guide, visit Step by step guide to control Sonoff Smart Switch without internet. Assuming everything is ready with Raspberry Pi, installing domoticz is straight forward procedure, as discussed in wiki on official domoticz website. Check out the video above for demonstration of all the steps in detail.
Open up PuTTY or any of your favourite terminal to access your Raspberry Pi using ssh and execute the following command.
curl -L install.domoticz.com | sudo bash
Script will take care of all the necessary steps and ask for various options such as access port (default is 8080 e.g. 192.168.50.31:8080). Once done, your Domoticz installation will ready for use.
If you are using Raspbian Stretch, Domoticz will not work out of the box because of missing dependencies.
A library libssl.so.1.0.0 is missing and no longer being integrated into the Raspbian Stretch repository. Follow the instructions below to install it.
- Update sources file using Nano editor
sudo nano /etc/apt/sources.list
- Add the following line at the end of file
deb http://archive.raspbian.org/raspbian/ jessie main contrib non-free rpi
- Save it with CTRL + X, Y and install libssl.so.1.0.0
sudo apt-get update
sudo apt-get install libssl1.0.0
sudo reboot
Domoticz Web Server Configuration:
After installing, Domoticz can be access on 8080 port (if your have not changed it during installation), just navigate to IP address of Raspberry PI e.g. 192.168.50.31:8080.
1) Configure MQTT:
Navigate to Setup > Hardware and enter MQTT under Name field. Choose MQTT Client Gateway with LAN interface under Type. Write IP address of Raspberry Pi under Remote Address field. Enter MQTT port under Port field e.g. Default MQTT port is 1883. Also define Username and Password fields according to your MQTT broker credentials (setup during installing Mosquitto MQTT borker) and click on Add.
2) Motherboard Sensors:
Domoticz gets data from Raspberry Pi motherboard sensor. To display this data, add another hardware by choosing Motherboard sensors under Type. Give it a name and click on Add. All sort of Sensors will be shown under Setup > Devices.
To display all of these mother board sensors under appropriate tab of domoticz e.g. Show CPU temperature sensor under Temperature Tab of Domoticz, navigate to Setup > Devices and click green RIGHT ARROW shown against each of device at end of the row.
3) Dummy Virtual Switches:
In order to control our Sonoff devices, We have to create numerous virtual switches and link them to our Sonoff device. For this purpose navigate to Setup > Hardware and add another hardware Dummy (Does nothing, use for virtual switches only) by choosing it under Type. Give it a suitable name and hit Add button.
Until now, We have no dummy switch added to our dashboard. Click on Create Virtual Sensors button under Setup > Hardware, give it a name i.e. Light, choose appropriate sensor type e.g. Switch and click OK. Now a dummy switch will be added under Switches tab of our Domoticz. For Sonoff devices with added sensors such as Sonoff TH, you can add temperature and humidity sensor type e.g. “Temp+Hum” for AM2301, Si7021 and “Temperature” for DS18B20 sensors.
Navigate to Setup > Devices and note down Idx of Dummy switch / sensors. It will be used to link this dummy switch / sensors to our Sonoff device.
Link Sonoff Device to Domoticz Virtual Switch / Sensor:
Open IP address of Sonoff device e.g. http://192.168.50.145 in your favourite web browser and navigate to Configuration > Configure MQTT to configure MQTT if you have not configured it already. Navigate to Configuration > Configure Domoticz and enter Idx number under Idx 1 field of Domoticz parameters if it is a switch. For Sonoff devices with added sensors such as Sonoff TH, also input Idx number of Domoticz dummy sensor in respective Sensor idx field such as Sensor idx 2 for Si7021 Sensor under Tasmota Domoticz Configuration. Hit Save and your Sonoff device will restart in few seconds. Now you can toggle the switch under Domoticz and your Sonoff device will act accordingly. For better understanding, watch out our video tutorial below.
Display Favorite Switches under Dashboard Tab:
In order to display all of different type of switches e.g. Light, CPU Temperature under Dashboard tab, click on Star Icon present on a specific switch and that switch will be added to Dashboard tab.
Domoticz iOS / Android Application:
Download Domoticz iOS / Android app and install it in your iPhone / iPad / Phone / Tablet. Open the app and startup wizard will ask you to configure various server settings. Watch out the video below for more information.
